Hiking With a DSLR Camera (And Keeping It Safe!)
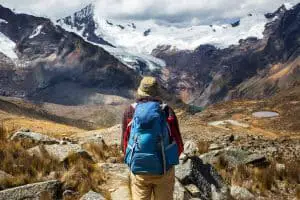
Many amateur and professional photographers enjoy hiking to beautiful locations to take pictures. However, hiking with a DSLR camera with all the bells and whistles on a trail can be tricky – it’s easy to damage or lose your (sometimes very) expensive equipment if you’re not careful. I was actually so scared of damaging my DSLR camera when I first bought it that I just kept it at home and stuck with my iPhone for pictures.
But there’s no reason to fear! In this blog post, we’ll discuss some tips for safely taking your DSLR camera on hikes, best storage practices, and how to keep your camera clean while enjoying the great outdoors.
Quick Links
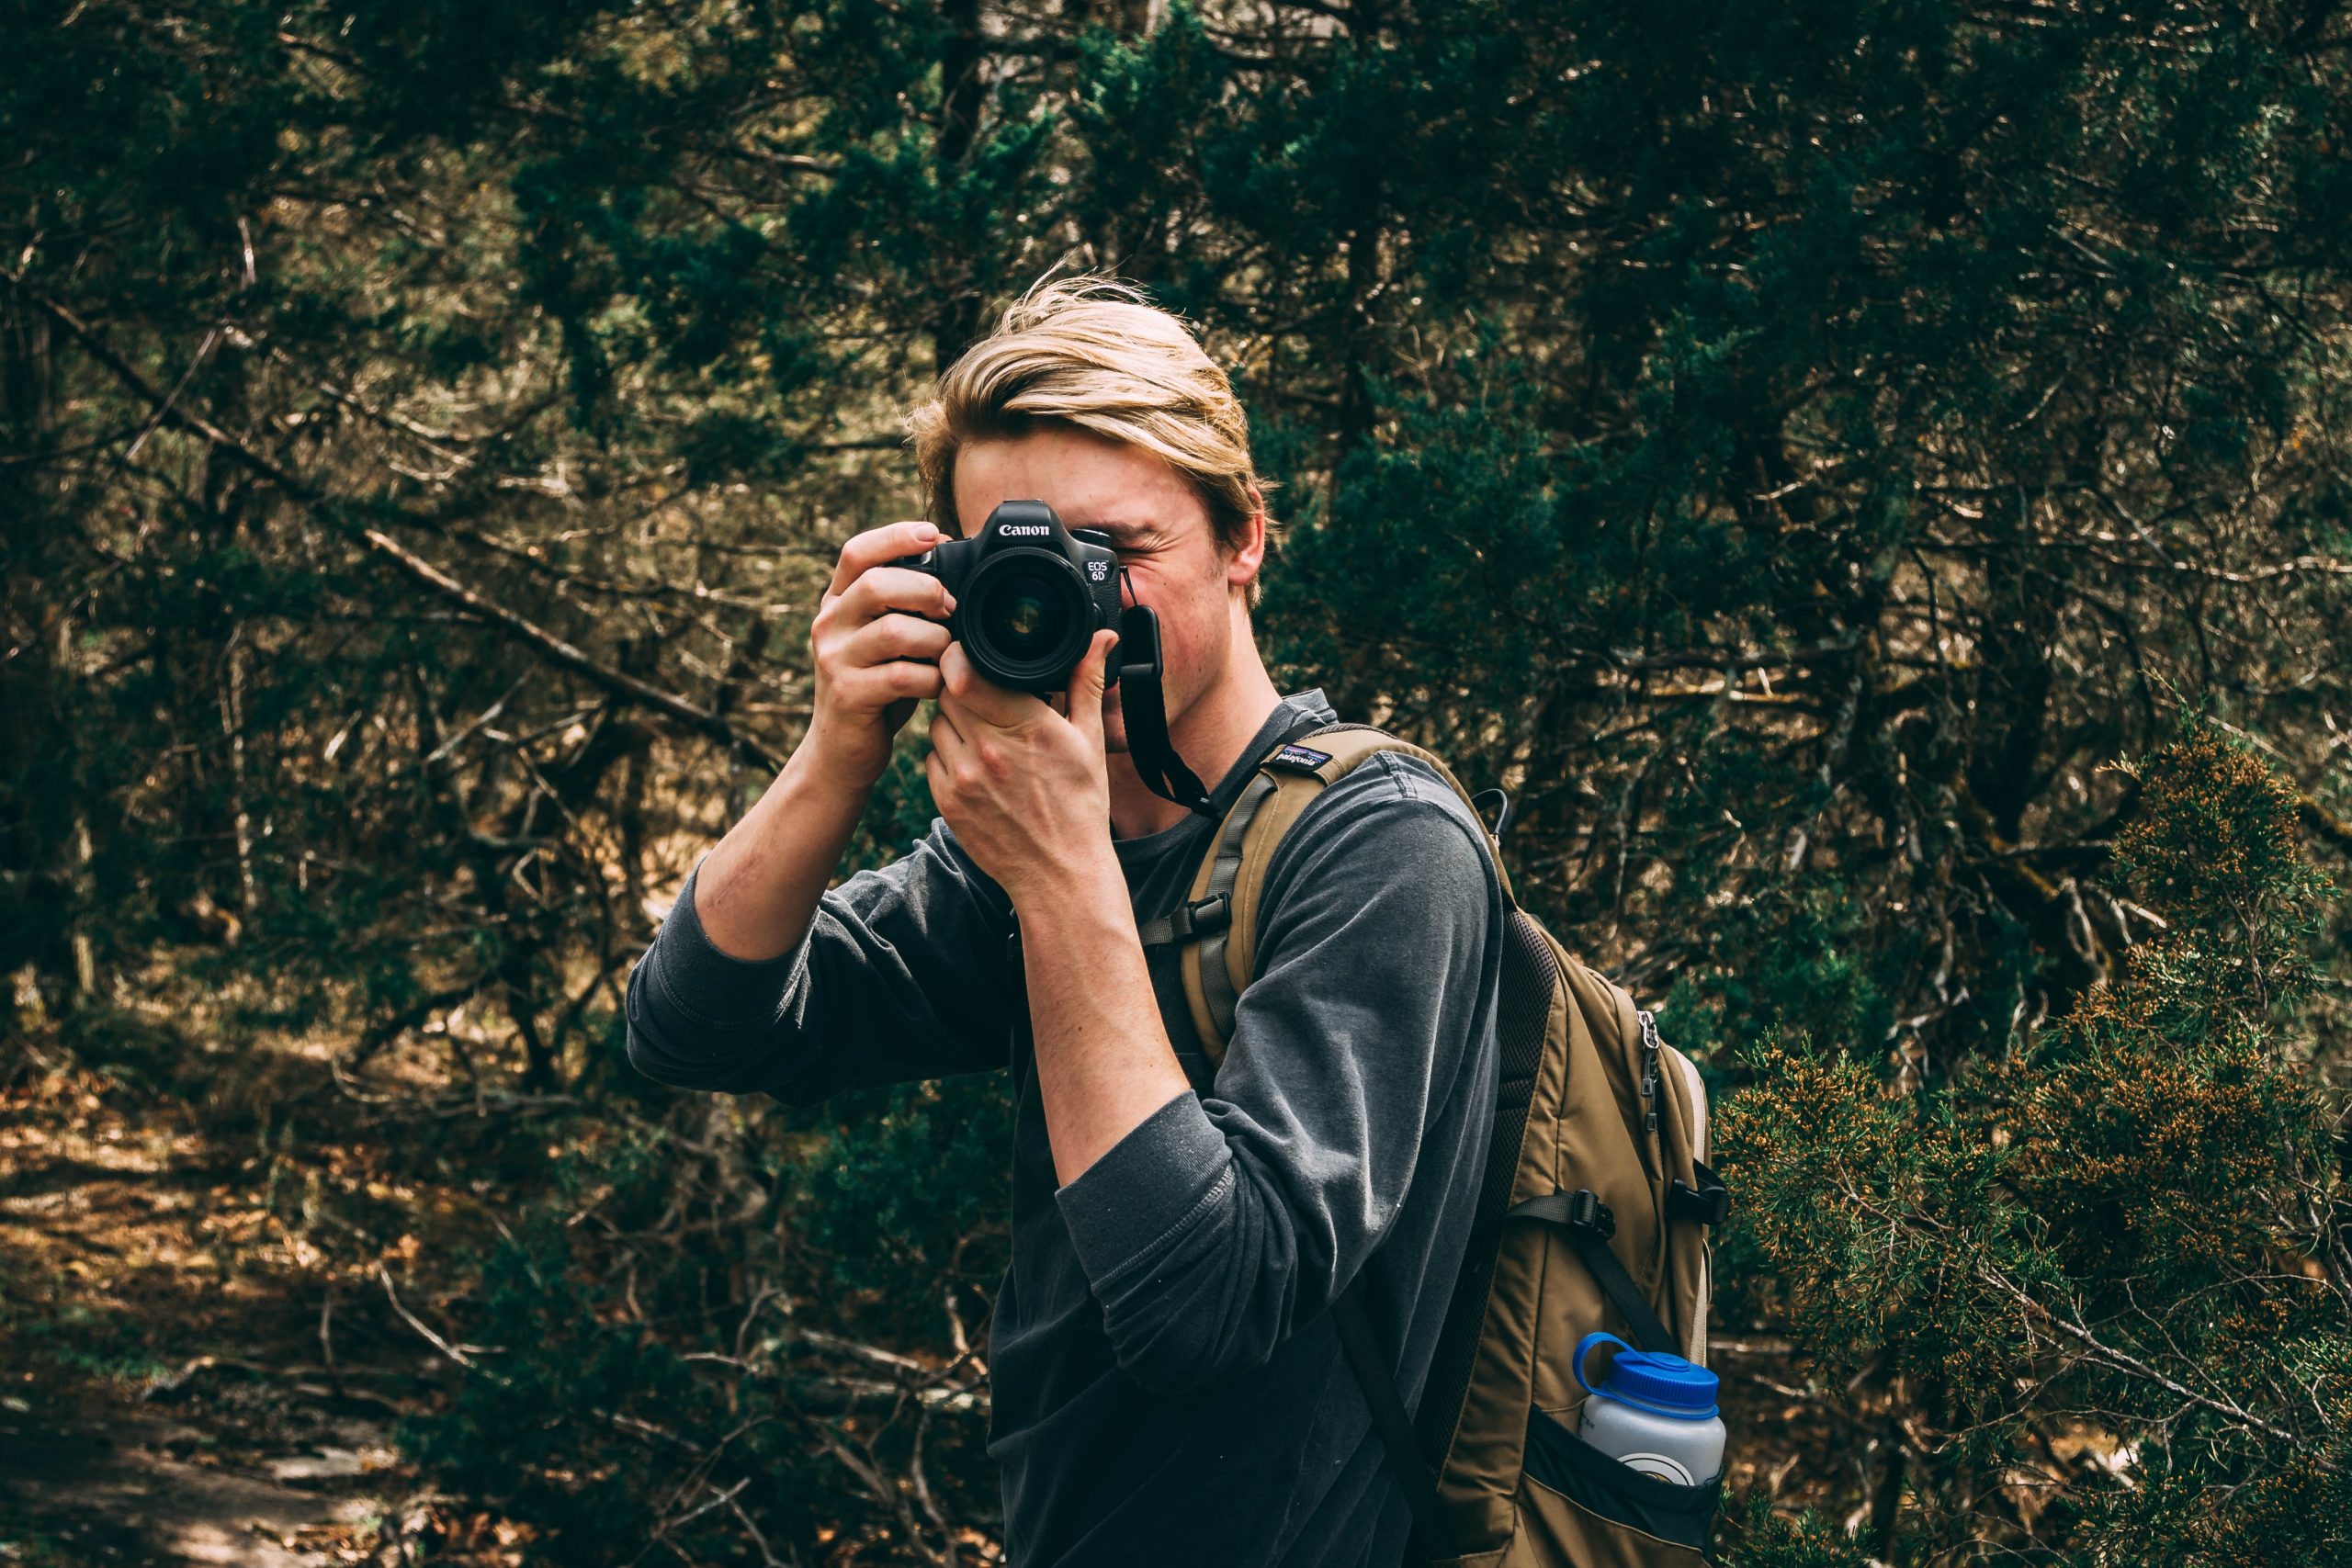
5 Ways to Carry DSLR Camera While Hiking
The general rule of thumb is to invest in a good quality camera bag that will protect your camera from the elements and any bumps or jostles along the way. There are plenty of great options out there, so take your time choosing one that fits your camera and your personal style. If you’re carrying other gear with you on your hike (like a tripod or additional lenses), make sure everything fits snugly in your bag, so nothing shifts around and gets damaged.
Once you have a bag, there are a few different ways you can carry it while hiking:
1. Backpack
Wearing your camera bag on your back is often the most comfortable option, especially if you’re carrying other gear as well. The main downside to this method is that it can be tough to access your camera quickly if you spot a photo opportunity. However, this shouldn’t be a problem most of the time unless you’re trying to shoot wildlife.
There are specific backpacks made for carrying a DSLR. Check out the Pro Camera Backpack by Tarion. If you don’t mind using up an entire backpack to carry your camera, tripod, and different lenses but very little else for your hike – this can be a fantastic option.
2. Shoulder Strap
If you don’t mind having your camera bag swing around as you hike, carrying it with a shoulder strap can be easier than a backpack. This method also allows you to access your camera more quickly. This is my preferred method, and even something as simple as your camera’s strap will do the trick – no need for fancy straps.
3. Waist Belt
For a hands-free option, you can invest in a waist belt that will hold your camera bag around your waist. This is a good choice if you’re not carrying too much other gear but can be uncomfortable if you have a lot of stuff or if the bag is heavy.
4. Carabiner
For a really lightweight option, you can attach your camera bag to your belt or backpack using a carabiner. This is only suitable for very short hikes, as your camera will bounce around quite a bit as you walk.
5. Handheld
Of course, you can always just carry your camera in your hand. This is the least comfortable option but can be necessary if you don’t feel like carrying extra weight or if you need to be able to access your camera quickly.
Pick the method that works best for you and your gear, and adjust as needed along the way. The most important thing is that you feel comfortable and confident carrying your camera while hiking.
How can I protect my DSLR camera from hiking?
Now that you know how to carry your camera, here are a few ways you can keep it protected while hiking:
Avoid extreme temperatures:
Your camera could be damaged if it’s too hot or too cold. When it’s really cold, the moisture in the air can condense on your camera and lens and cause damage. And when it’s hot, your camera could overheat. I generally avoid taking my DSLR camera out on hikes when the temperature is above 85 degrees or below freezing.
Cleaning Your Camera
Clean your camera before and after each hike to prevent dirt, dust, and debris from damaging your equipment. I like to use lens wipes to quickly clean my camera body and lenses, but you can also use a soft cloth or brush if needed. Be gentle with cleaning – you don’t want to scratch your camera! Don’t use anything abrasive like a paper towel or tissues.
Use a UV filter
Investing in a UV filter is a great way to protect your camera lens from scratches, dirt, and debris. Accidents happen even if you’re careful with your camera, and it’s better to be safe than sorry. UV filters are relatively inexpensive, so it’s worth it to pick one up before your next hike. Tiffen makes great UV Lens Filters, but make sure you get the right size for your lens.
Get a Rain Cover
A rain cover is an essential piece of gear if you’re hiking in rainy or snowy conditions. Water and cameras don’t mix, so it’s important to keep your camera as dry as possible while hiking. It will protect your camera from the elements and can also help prevent lens fogging. There are a variety of rain covers available, so choose one that fits your camera bag and gear.
Protect Your Camera When Not in Use
When you’re not using your camera, make sure it’s stored safely in your camera bag. I like to put my camera in a padded case or sleeve to help prevent bumps and scratches. You can also invest in a camera bag with padding and compartments to keep everything organized and safe.
Use a Tripod
If you have butterfingers like me, a tripod can be a lifesaver. It will help prevent accidental drops and can also be useful for long-exposure photography or low light conditions. Tripods come in a variety of sizes and styles, so choose one that’s right for you and your camera. I use a Geekoto Tripod, and it’s fantastic. It’s sturdy, tall, lightweight, and can be taken apart to fit in a very small carrying case.
Be Mindful of Your Surroundings
This one seems obvious, but it’s worth mentioning. Be aware of your surroundings at all times when you’re hiking, and take care to avoid any potential hazards. This includes everything from low-hanging branches to steep drop-offs. Pay attention to where you’re walking and keep an eye out for anything that could damage your camera.
The Best DSLR Camera For Hiking
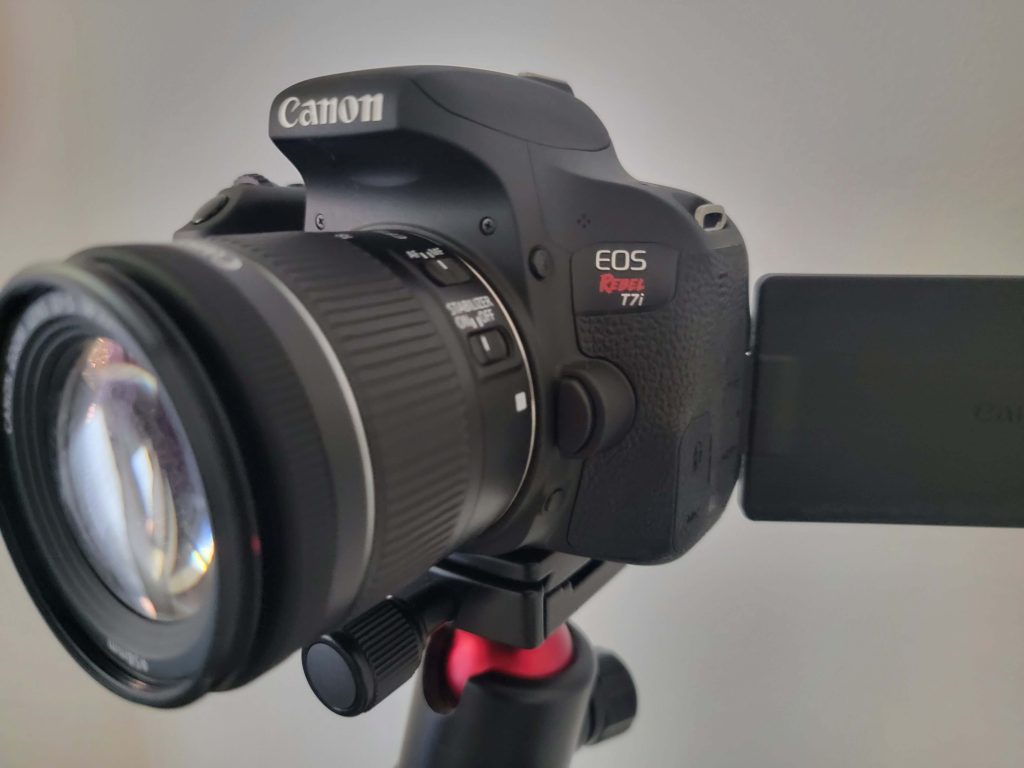
My recommendation is the Canon Rebel T7i. It’s a great all-around DSLR camera that is perfect for beginner and intermediate photographers. It’s lightweight and easy to carry, and it takes great photos in a variety of conditions. It also has a flip-out LCD screen, which is helpful for taking pictures at weird angles or in tight spaces. The Canon Rebel T7i is a great choice for anyone looking for a versatile DSLR camera for hiking.
The camera comes with an 18-55mm lens which is great for most hikers’ needs. However, if you are looking for more of a macro lens to get up close and personal with small details, you may want to consider getting a wide-angle lens. The Canon EF-S 24mm f/2.8 STM Lens is a great and affordable option.

The Rebel T7i also has built-in WiFi, Bluetooth, and NFC, which makes it easy to transfer photos to your phone or other devices. I typically stick with the WiFi option.
Overall, the Canon Rebel T7i is a great DSLR camera for hiking and would be a great addition to any hiker’s gear.
Conclusion
Now that you know how to safely take your DSLR camera on hikes, it’s time to get out there and start exploring! With a little bit of preparation and care, you can safely take your camera on all your adventures. Don’t be scared like I was – it’ll be fine, I promise! Do you have any tips for taking photos while hiking? Share them in the comments below!